

Table of Contents
- Why Standardizing Client Onboarding Matters
- Step 1: Define Your Client Onboarding Process
- Step 2: Create a Client Onboarding Checklist
- Step 3: Design a Client Onboarding Questionnaire
- Step 4: Develop Client Onboarding Email Templates
- Step 5: Select Client Onboarding Software and Automation
- Step 6: Document Roles, Responsibilities, and Escalation Paths
- Step 7: Measure, Review, and Improve Your Onboarding System
- Frequently Asked Questions
Last Updated: October 13, 2026
Why Standardizing Client Onboarding Matters
A signed contract doesn't mean your project is ready to start.
Standardizing client onboarding transforms that gap into a controlled, repeatable process. When you standardize client onboarding, you move from scattered intake forms and informal kickoffs to a structured system that captures what was actually sold, what delivery requires, and what remains unresolved before work begins.
Here's what matters most: teams that standardize client onboarding see faster project starts, fewer scope disputes, and stronger client relationships. The process reduces rework by clarifying expectations upfront. It protects your team's momentum by preventing the confusion that derails early delivery phases.
The fix for many agencies and consultants facing this problem isn't buying another tool, it's building a repeatable system.
Key Takeaway
Standardization isn't about rigid templates. It's about capturing what matters, documenting decisions, and ensuring nothing falls through the cracks when a new client arrives.
Step 1: Define Your Client Onboarding Process
Start by mapping what actually happens when a new client arrives. Don't design the ideal process yet, document the current one.
Your process map should answer these questions:
- Who touches the client first after signing?
- What information do we collect and when?
- Which decisions must we make before work starts?
- What access or approvals do we need from the client?
- How do we confirm readiness to begin?
- Who hands off from sales to delivery, and how?
Most teams discover they have no single process. Sales does intake one way. Project managers do it another. Sometimes information lives in email. Sometimes it's scattered across three tools.
The goal of this step is clarity, not perfection. You're building a baseline to improve from.
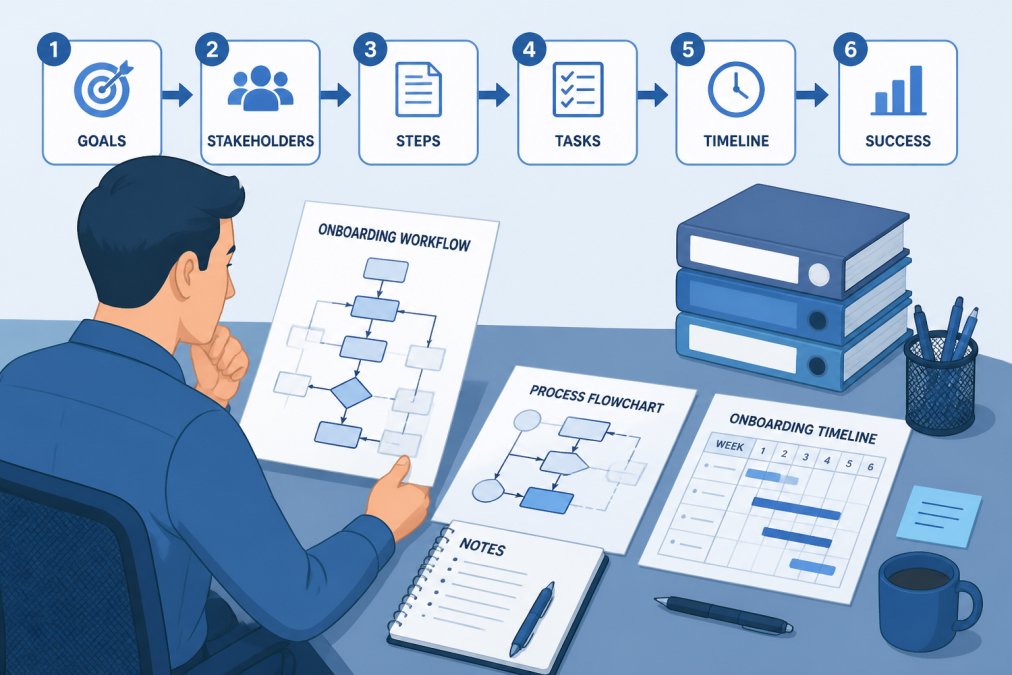
Document your current process in writing. Use a simple format: list each step, who does it, what happens, and what comes next. This becomes your foundation for standardization.
Pro Tip
Interview your team members separately. You'll likely find that what sales thinks happens differs from what delivery thinks happens. Those gaps are where problems hide.
Step 2: Create a Client Onboarding Checklist
A client onboarding checklist transforms your process into an actionable tool. It ensures nothing gets missed and provides accountability across your team.
Your checklist should cover these core phases:
Pre-Kickoff Phase
- Confirm contract terms and deliverables
- Collect client contact information and organizational structure
- Identify key stakeholders and decision-makers
- Confirm access requirements and technical setup
- Review any dependencies or third-party integrations
Kickoff Phase
- Schedule and conduct kickoff meeting
- Review project scope and timeline with client
- Confirm roles, responsibilities, and communication cadence
- Establish escalation paths
- Set success criteria and expected outcomes
First Week Phase
- Complete initial deliverables or first milestone
- Confirm client satisfaction with early work
- Address any scope questions or clarifications
- Document decisions and agreements
- Schedule first progress check-in
A strong client onboarding checklist is specific enough to guide action but flexible enough to adapt to different client types. Avoid generic items like "communicate with client." Instead, write "send welcome email with project timeline and first meeting agenda within 24 hours of contract signature."
Assign ownership for each item. Clarity about who does what prevents tasks from falling through cracks.
Watch Out
A checklist sitting in a shared drive gets ignored. Make it part of your actual workflow. Use your project management tool to assign tasks, set due dates, and track completion. If it's not visible, it won't get done.
Step 3: Design a Client Onboarding Questionnaire
A well-designed client onboarding questionnaire captures the information you need to deliver effectively. It replaces scattered emails and phone calls with a structured intake that documents what the client needs and what your team must know.
Your questionnaire should gather information in these categories:
Business Context
- What problem are we solving?
- What does success look like?
- Who are the key stakeholders?
- What's the timeline and budget?
Operational Details
- What systems or tools do we need access to?
- Who approves decisions and changes?
- What's the communication preference (email, Slack, meetings)?
- Are there compliance or security requirements?
Deliverable Specifics
- What exactly are we delivering?
- What format or platform should it be in?
- Who reviews and approves work?
- What's the revision process?
Dependencies and Constraints
- What does the client need to provide?
- Are there third parties involved?
- Are there technical limitations we should know about?
- What can't we do or change?
Keep your questionnaire focused. Most clients will answer 8-12 core questions. Anything longer gets abandoned or answered poorly.
Send the questionnaire before the kickoff meeting, not after. This gives you time to review answers, spot gaps, and prepare smarter kickoff conversations.
Pro Tip
Make your client onboarding questionnaire accessible. Use a simple form or shared document. The easier it is to complete, the better the responses you'll get. Avoid complex surveys that feel like homework.
Step 4: Develop Client Onboarding Email Templates
Email templates ensure consistent, professional communication at every stage of the onboarding process.
Develop templates for these key moments:
Welcome Email (sent within 24 hours of contract signature)
Subject: Welcome to [Your Company], Let's Get Started
Hi [Client Name],
Thank you for choosing us. We're excited to work together on [project name].
Your project kicks off on [date]. Before we meet, we'd like to gather some information to make sure we're set up for success.
Please complete this brief questionnaire by [date]: [link]
In the meantime, here's what happens next:
- [Step 1]
- [Step 2]
- [Step 3]
If you have questions, reply to this email or reach out to [contact name] at [email].
Best regards, [Your Name]
Pre-Kickoff Confirmation Email (sent 2 days before kickoff)
Subject: Confirming Our Kickoff Meeting on [Date]
Hi [Client Name],
Looking forward to our kickoff meeting on [date] at [time].
Here's what we'll cover:
The Client Start System — Book + Toolkit Bundle →
- Project scope and deliverables
- Timeline and milestones
- Roles and responsibilities
- Communication and escalation
- First steps
Please confirm your attendance and let us know if you have questions we should address.
See you then, [Your Name]
Post-Kickoff Summary Email (sent within 24 hours of kickoff)
Subject: Kickoff Summary and Next Steps
Hi [Client Name],
Great meeting you and your team today. Here's what we discussed and agreed to:
Project Scope [Summary of deliverables and exclusions]
Timeline [Key milestones and dates]
Roles and Responsibilities [Who does what]
Next Steps [What happens next and by when]
Please review and let us know if anything needs clarification.
Best regards, [Your Name]
Use these templates as starting points. Customize them for your business and client types, but keep the structure consistent.
Step 5: Select Client Onboarding Software and Automation
The right tools make standardization stick. Your software should support your client onboarding checklist, store client information in one place, and automate repetitive tasks.
Look for software that handles these functions:
Client Information Management
- Centralized storage for client details, contacts, and project scope
- Easy search and retrieval for the team
- Version control so everyone sees the current information
Task and Workflow Automation
- Automatic task assignment based on your process
- Due date tracking and reminders
- Status visibility across your team
Communication and Documentation
- Controlled templates for consistent messaging
- Record of all client interactions and decisions
- Integration with email so nothing gets lost
Client Portal (Optional but Valuable)
- Clients can submit information and track progress
- Reduces back-and-forth emails
- Creates transparency and builds confidence
Many teams already use project management software like Asana or Monday.com. These tools can support standardized onboarding if you set them up properly. The key is building your process into the tool, not trying to use the tool as-is.
If you're building a dedicated client onboarding system, Workflow Lift offers resources specifically designed for this. The Client Start System provides a complete framework for standardizing client onboarding, along with editable templates and implementation tools that integrate with your existing workflow.

Pro Tip
Don't over-automate early. Start with manual processes documented in your tool. Once you see what works, add automation. Too much automation too soon creates rigidity that frustrates your team.
Step 6: Document Roles, Responsibilities, and Escalation Paths
Unclear ownership causes delays and frustration. When everyone knows who does what and when, your client onboarding runs smoothly.
Create a responsibility matrix for your onboarding process. Use this format:
| Task | Owner | Support | Decision Authority | Timeline |
|---|---|---|---|---|
| Collect client questionnaire | Sales | [Name] | Sales Lead | Within 24 hours |
| Review questionnaire for gaps | Project Manager | [Name] | PM | Within 48 hours |
| Schedule kickoff meeting | Project Manager | Sales | PM | Within 72 hours |
| Conduct kickoff meeting | Project Manager | Sales, Delivery Lead | PM | On scheduled date |
| Send kickoff summary | Project Manager | [Name] | PM | Within 24 hours |
| Confirm client readiness | Delivery Lead | Project Manager | Delivery Lead | Before start date |
This matrix clarifies who owns each step, who supports them, who makes decisions, and the deadline.
Define escalation paths for common issues:
- Client misses questionnaire deadline: PM contacts client by [date]. If no response, escalate to [manager].
- Scope questions emerge during intake: PM documents the question and escalates to [decision-maker] within 24 hours.
- Client unavailable for kickoff meeting: PM reschedules within [timeframe]. If client delays beyond [date], escalate to [manager].
- Readiness concerns before start date: Delivery lead flags concern to PM. PM meets with client to resolve or escalate to [decision-maker].
Clear escalation paths prevent problems from festering. They also protect your team by making it clear when someone should ask for help rather than trying to solve everything alone.
Step 7: Measure, Review, and Improve Your Onboarding System
Standardization only works if you measure what matters and improve continuously. Track these metrics for your client onboarding process:
Operational Metrics
- Average time from contract to kickoff
- Percentage of clients who complete questionnaire on time
- Number of clarification questions per engagement
- Time spent on rework due to unclear scope
Client Satisfaction Metrics
- Client feedback on kickoff experience
- Time-to-first-value (when client sees initial deliverables)
- Scope change requests in first month
Team Metrics
- Percentage of onboarding tasks completed on schedule
- Team satisfaction with onboarding process
- Rework hours attributed to onboarding gaps
Review these metrics monthly. Look for trends. If most clients miss the questionnaire deadline, the deadline may be too tight or the questionnaire too long.
Create a simple improvement log. When the team identifies a problem or opportunity, document it. Every quarter, review the log and decide which improvements to implement.
Small, regular improvements beat big overhauls. A process that your team tweaks every month becomes more useful than one that stays frozen for a year.
Key Takeaway
The best onboarding system is one your team actually uses. Measure whether it's working, listen to feedback, and adjust. A process that improves based on real experience beats a perfect system that no one follows.
Standardizing client onboarding takes effort upfront but pays dividends immediately. You'll see fewer scope disputes, faster project starts, and stronger client relationships.
The work begins with mapping your current process and documenting what matters. From there, build your checklists, templates, and tools. Assign clear ownership. Measure results and improve continuously.
If you're starting from scratch or looking to accelerate the process, Workflow Lift's Client Start System provides a complete framework with ready-to-use templates and implementation tools. The system is designed to reduce rework, clarify responsibilities, and protect your momentum. Explore the Implementation Series to see how teams are standardizing their client onboarding today.

Frequently Asked Questions
What should a client onboarding checklist include?
A comprehensive client onboarding checklist should cover agreement verification, intake information collection, access and credentials setup, dependency identification, readiness confirmation, kickoff meeting preparation, and first-week stabilization tasks. Include checkboxes for each phase, assigned owners, and completion dates. Your checklist becomes the single source of truth for what has been completed and what remains before delivery begins.
How do you create a repeatable onboarding process for every client?
Document your current process step-by-step, identify decision points and handoffs, build templates for recurring tasks, and assign clear roles and responsibilities. Create a standard timeline with milestones that applies to all clients, then define which steps can be personalized based on client type or project scope. Test the process with your next three clients, gather feedback, and refine before rolling it out company-wide.
Which tools can help manage client onboarding?
Project management platforms like Asana and Monday.com can track onboarding tasks, but they work best paired with dedicated onboarding systems that include intake forms, communication templates, and readiness workflows. The Client Start System toolkit provides Excel-based workbooks and communication templates designed specifically for standardized client onboarding, allowing you to maintain a single source of truth while integrating with your existing project tools.
How much time does it take to implement a standardized onboarding system?
Documenting your current process typically takes 2-4 weeks depending on team size and complexity. Building templates and checklists adds another 1-2 weeks. Full team adoption and refinement usually requires 2-3 months of live implementation. Using pre-built templates and playbooks can significantly reduce setup time.